-
Table of Contents
Assessing the Extent of Water Damage in Your RV Ceiling
Water damage is a common issue that many RV owners face, especially when it comes to the ceiling. Whether it’s due to a leaky roof or a plumbing problem, water damage can cause significant structural issues if not addressed promptly. In this article, we will guide you through the process of assessing the extent of water damage in your RV ceiling, so you can take the necessary steps to repair it.
The first step in assessing water damage is to visually inspect the affected area. Look for any signs of discoloration, sagging, or peeling paint. These are clear indicators that water has penetrated the ceiling and caused damage. Additionally, check for any soft spots or areas that feel damp to the touch. These are signs of moisture buildup and can lead to mold growth if not addressed.
Next, it’s important to determine the source of the water leak. This will help you understand the extent of the damage and prevent further issues in the future. Check the roof for any visible cracks, holes, or damaged seals. Inspect the plumbing system for any leaks or loose connections. It may be necessary to climb on top of the RV or access the attic space to get a better view of the roof and plumbing system.
Once you have identified the source of the water leak, it’s time to assess the structural integrity of the ceiling. Gently press on the affected area to see if it feels soft or spongy. This indicates that the water damage has compromised the structural integrity of the ceiling. If the damage is extensive, it may be necessary to remove the entire section of the ceiling and replace it with new materials.
In some cases, the water damage may be limited to the surface of the ceiling, without affecting the underlying structure. In these situations, you can often repair the damage without having to replace the entire ceiling. Start by removing any loose or peeling paint. Use a scraper or sandpaper to smooth out the damaged area. Once the surface is smooth, apply a primer to seal the area and prevent further water penetration. Finally, repaint the ceiling to match the rest of the RV’s interior.
If the water damage has affected the structural integrity of the ceiling, it’s important to take immediate action to prevent further damage. Start by removing any wet or damaged insulation. This will help prevent mold growth and further deterioration of the ceiling. Next, use a fan or dehumidifier to dry out the area. It may take several days for the ceiling to completely dry, so be patient.
Once the ceiling is dry, you can begin the repair process. Start by reinforcing the damaged area with new support beams or joists. This will help restore the structural integrity of the ceiling. Next, replace any damaged insulation with new materials. Finally, install new ceiling panels or drywall to complete the repair.
In conclusion, assessing the extent of water damage in your RV ceiling is the first step in the repair process. By visually inspecting the area, identifying the source of the water leak, and assessing the structural integrity of the ceiling, you can determine the best course of action. Whether it’s a simple surface repair or a more extensive replacement, addressing water damage promptly will help ensure the longevity and safety of your RV.
Step-by-Step Guide to Repairing Water Damaged RV Ceiling

Are you an RV owner who has recently discovered water damage on your ceiling? Don’t panic! While water damage can be a frustrating issue to deal with, repairing a water damaged ceiling in your RV is not as difficult as it may seem. In this step-by-step guide, we will walk you through the process of repairing your water damaged RV ceiling, so you can get back to enjoying your travels in no time.
Step 1: Assess the Damage
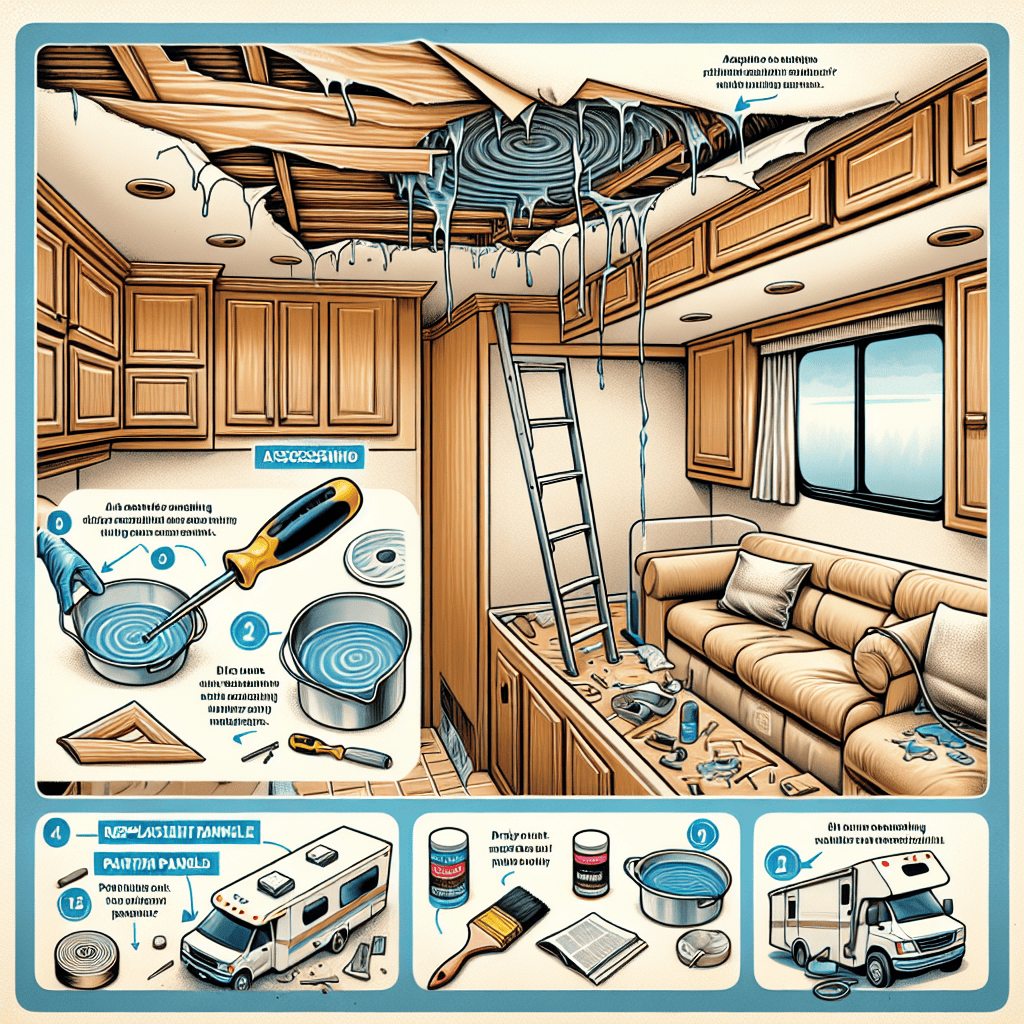
The first step in repairing a water damaged ceiling is to assess the extent of the damage. Look for any signs of discoloration, sagging, or mold growth on the ceiling. It’s important to identify the source of the water leak and fix it before proceeding with the repairs. Once you have determined the extent of the damage, you can move on to the next step.
Step 2: Remove the Damaged Material
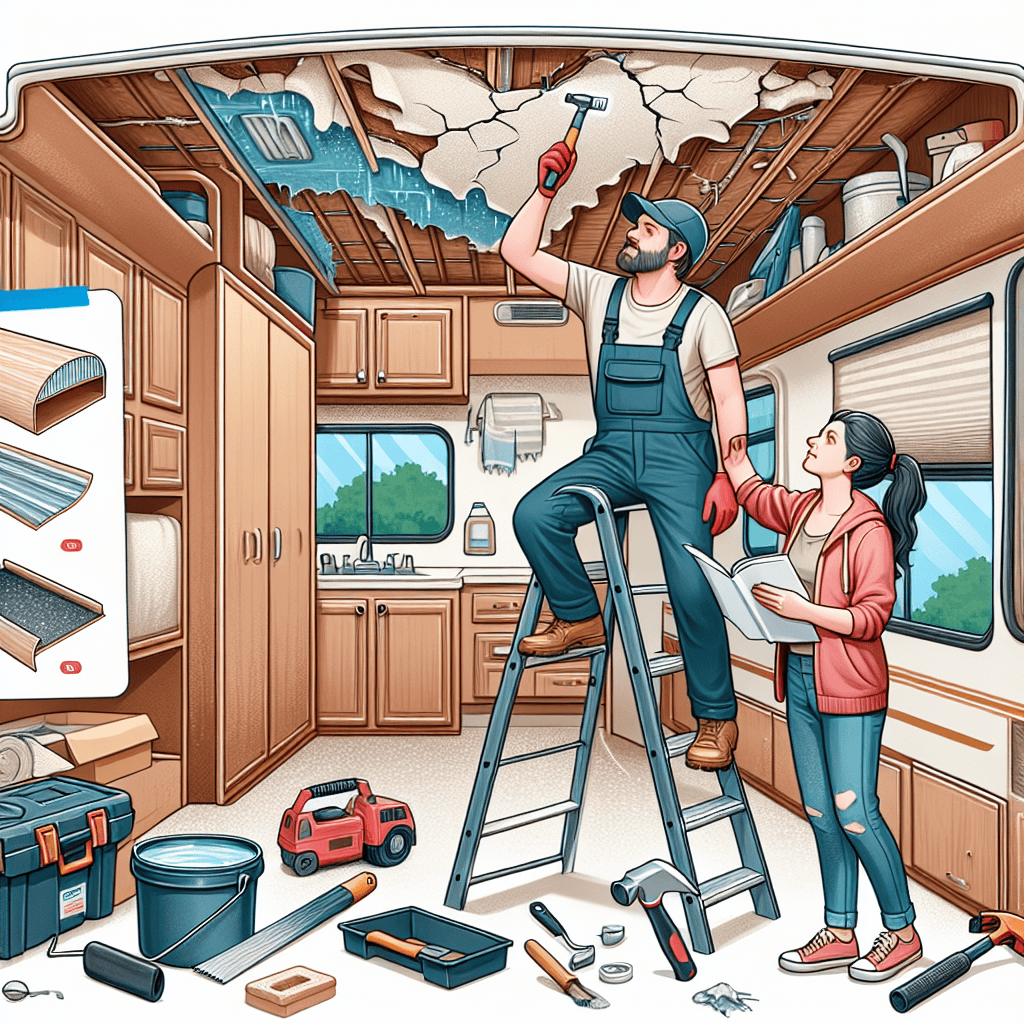
To repair a water damaged ceiling, you will need to remove the damaged material. Start by carefully cutting away any sagging or discolored sections of the ceiling using a utility knife. Be sure to wear protective gloves and goggles during this process to avoid any injuries. Once you have removed the damaged material, clean the area thoroughly to remove any mold or mildew that may have formed.
Step 3: Replace the Ceiling Panel
After removing the damaged material, it’s time to replace the ceiling panel. Measure the size of the damaged area and cut a new panel to fit using a saw or a utility knife. Make sure the new panel is the same thickness as the original ceiling panel to ensure a seamless repair. Apply adhesive to the back of the new panel and carefully press it into place. Use clamps or weights to hold the panel in place until the adhesive dries.
Step 4: Sand and Paint
Once the adhesive has dried, sand the repaired area to create a smooth surface. Start with a coarse-grit sandpaper and gradually move to a finer grit to achieve the desired finish. After sanding, wipe away any dust or debris with a damp cloth. Now it’s time to paint! Choose a paint color that matches the rest of your RV’s interior and apply it to the repaired area using a brush or roller. Allow the paint to dry completely before moving on to the final step.
Step 5: Seal the Repair
To ensure that your water damaged ceiling repair lasts, it’s important to seal the area properly. Apply a coat of clear sealant over the repaired section to protect it from future water damage. This will help to prevent any further leaks or moisture from seeping into the ceiling. Allow the sealant to dry completely before using your RV.
In conclusion, repairing a water damaged ceiling in your RV is a manageable task that can be accomplished with a little time and effort. By following this step-by-step guide, you can restore your RV’s ceiling to its former glory and continue enjoying your travels worry-free. Remember to always address the source of the water leak before proceeding with the repairs to prevent any future damage. Happy repairing!
Tips for Preventing Future Water Damage in Your RV Ceiling
Tips for Preventing Future Water Damage in Your RV Ceiling
Now that you have successfully repaired your water damaged ceiling in your RV, it’s important to take steps to prevent future damage. Water damage can be a costly and frustrating problem, but with a few simple precautions, you can avoid it altogether. In this section, we will provide you with some helpful tips to keep your RV ceiling dry and in good condition.
First and foremost, it’s crucial to regularly inspect your RV for any signs of leaks or water damage. This includes checking the roof, windows, and any other areas where water could potentially enter. Look for discoloration, soft spots, or any other indications of water infiltration. By catching these issues early on, you can address them before they become major problems.
Another important step in preventing water damage is to ensure that your RV’s roof is properly sealed. Over time, the sealant on your roof can deteriorate, allowing water to seep in. It’s a good idea to inspect and reseal your roof at least once a year, or more frequently if you notice any issues. Use a high-quality sealant that is specifically designed for RV roofs to ensure a tight and long-lasting seal.
In addition to the roof, pay attention to the condition of your RV’s windows and doors. These areas are common entry points for water, especially if the seals are worn or damaged. Inspect the seals regularly and replace them if necessary. It’s also a good idea to keep your windows and doors closed during rainstorms or when you’re away from your RV to minimize the risk of water entering.
Proper ventilation is another key factor in preventing water damage. Moisture can accumulate inside your RV, leading to mold and mildew growth. Make sure your RV is well-ventilated by using exhaust fans or opening windows when cooking, showering, or doing any activities that generate moisture. Additionally, consider using a dehumidifier to remove excess moisture from the air.
Regular maintenance is essential for keeping your RV in good condition and preventing water damage. This includes cleaning your gutters and downspouts to ensure proper water drainage. Clogged gutters can cause water to overflow and seep into your RV. It’s also important to keep your RV’s exterior clean and free from debris, as this can trap moisture and lead to damage over time.
Lastly, consider investing in an RV cover to protect your vehicle from the elements when it’s not in use. A cover can help shield your RV from rain, snow, and UV rays, reducing the risk of water damage. Make sure to choose a cover that is specifically designed for RVs and provides a snug fit.
By following these tips, you can significantly reduce the chances of water damage in your RV ceiling. Regular inspections, proper sealing, ventilation, and maintenance are key to keeping your RV dry and in excellent condition. Remember, prevention is always better than dealing with costly repairs down the line. So, take the necessary steps to protect your investment and enjoy worry-free travels in your RV.
Hiring Professionals vs. DIY: Pros and Cons of Repairing Water Damaged RV Ceiling
Are you facing the unfortunate situation of a water damaged ceiling in your RV? It can be a frustrating and stressful experience, but fear not, as there are options available to repair the damage. One of the first decisions you’ll need to make is whether to hire professionals or tackle the repair yourself. In this article, we will explore the pros and cons of both options, helping you make an informed decision.
Let’s start by discussing the benefits of hiring professionals. One of the main advantages is their expertise and experience in dealing with water damage repairs. Professionals have the necessary knowledge and skills to assess the extent of the damage and determine the best course of action. They can quickly identify any underlying issues that may have caused the water damage and address them accordingly. Additionally, professionals have access to specialized tools and equipment that may not be readily available to the average DIY enthusiast.
Another advantage of hiring professionals is the time and effort saved. Repairing a water damaged ceiling in an RV can be a time-consuming task, especially if you’re not familiar with the process. By hiring professionals, you can focus on other important aspects of your life while they take care of the repair. Moreover, professionals can complete the job more efficiently, ensuring that your RV is back in top shape as soon as possible.
However, it’s important to consider the potential drawbacks of hiring professionals. The most obvious one is the cost. Professional services can be quite expensive, especially if the damage is extensive. You’ll need to weigh the cost of hiring professionals against the value they bring in terms of expertise and convenience. Additionally, scheduling can be a challenge, as professionals may have other projects or commitments that could delay the repair process.
Now, let’s explore the option of DIY repairs. One of the main advantages of tackling the repair yourself is the potential cost savings. By doing it yourself, you can avoid paying for professional services and instead invest that money in materials and tools. DIY repairs can also be a rewarding experience, allowing you to learn new skills and gain a sense of accomplishment.
However, there are some cons to consider as well. DIY repairs require a certain level of knowledge and skill. If you’re not confident in your abilities, you may end up causing more harm than good. Additionally, DIY repairs can be time-consuming, especially if you’re not familiar with the process. It’s important to be realistic about your capabilities and the time you can dedicate to the repair.
In conclusion, the decision to hire professionals or tackle the repair yourself depends on various factors. Hiring professionals offers expertise, convenience, and efficiency, but it comes at a cost. On the other hand, DIY repairs can save you money and provide a sense of accomplishment, but they require time, skill, and the willingness to learn. Ultimately, the choice is yours, and it’s important to consider your own abilities, resources, and priorities. Whatever option you choose, remember to prioritize the safety and well-being of yourself and your RV.


